
Clips
In Reliq, a Clip acts as a dynamic container, capturing the sequence specific to a given track. Each clip holds key information, including global track settings, the arrangement of sheets within the track, and the step settings for each individual sheet and step.
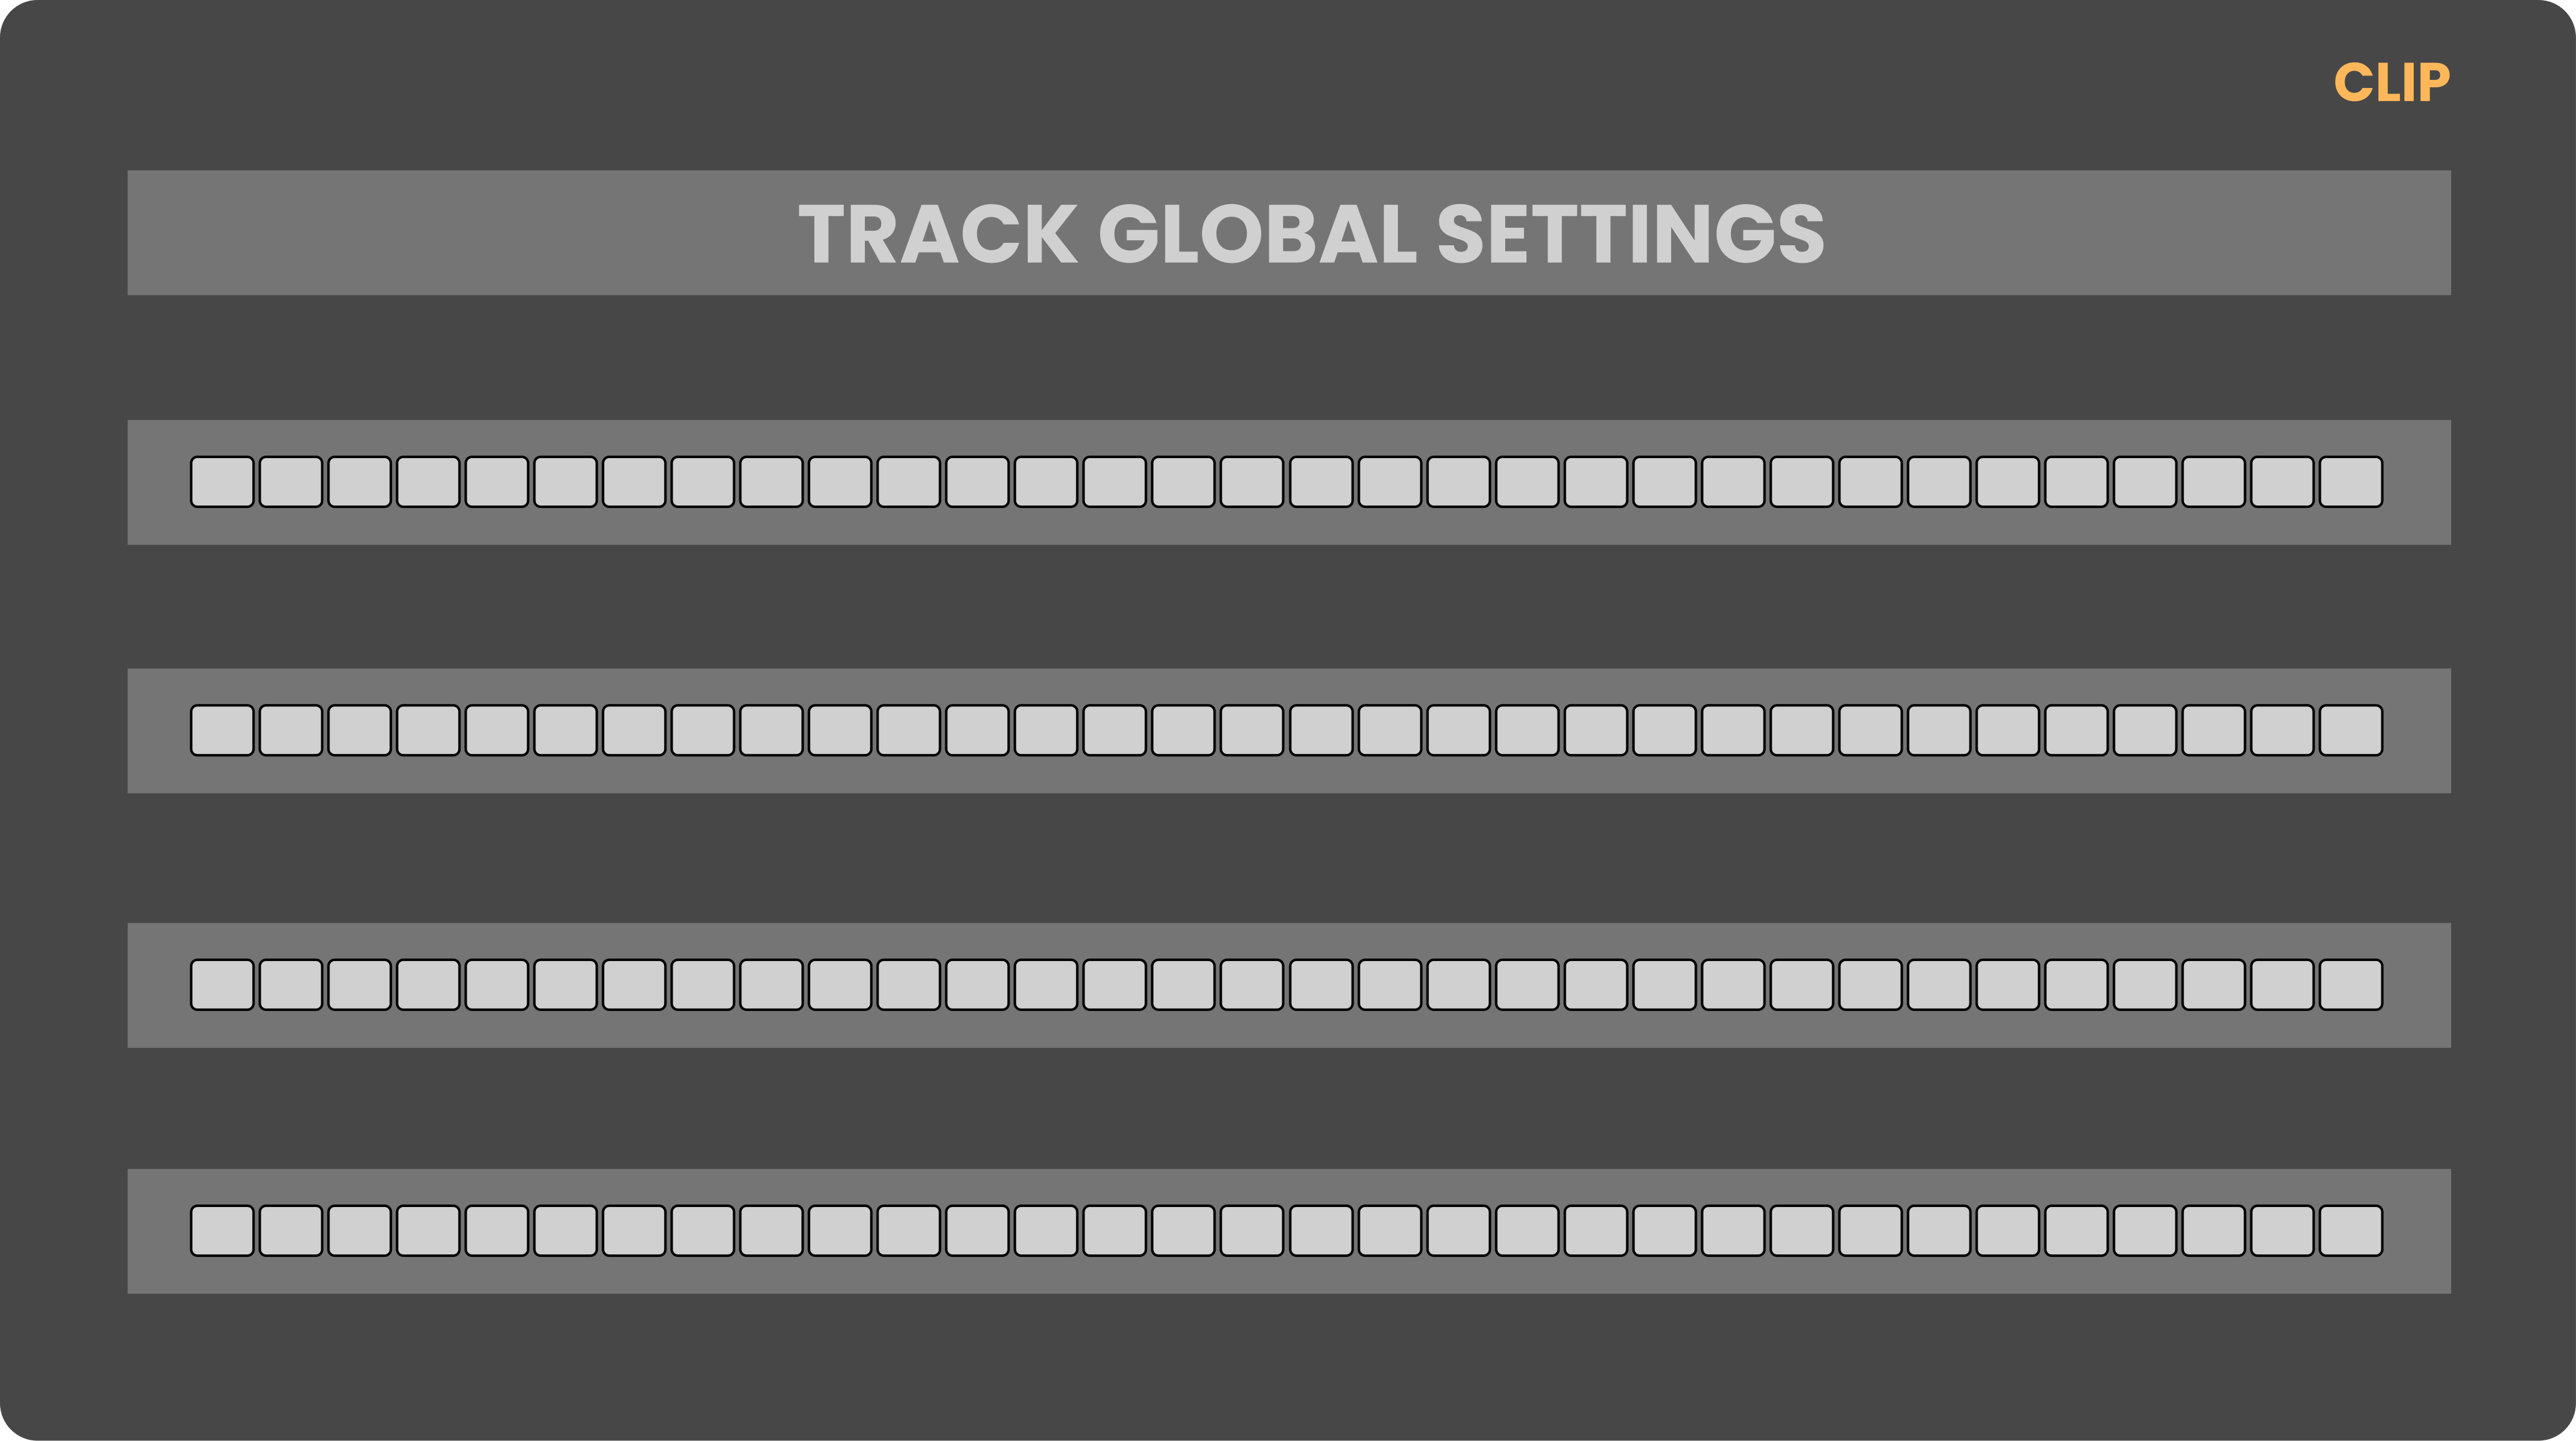
Essentially, a Clip functions as a sequence pattern, reflecting the current state of a sequencer track. Clips have variable lengths. The maximum number of steps per track, per project, is 32,768—equivalent to 1,024 sheets, each Sheet comprising 32 steps. In a 4/4 time signature, this correlates to 1,024 bars or approximately 2 hours and 50 minutes of musical time at 120 BPM. Each sheet, in this time signature, represents a single musical bar.
The total number of clips that can be assigned to a track depends on the number of available sheets. Each project supports up to 1,024 sheets per track, which are allocated dynamically across clips. For instance, if each clip is composed of 512 steps (16 sheets), a track can host a maximum of 64 clips. Alternatively, a clip that spans 32,768 steps (1,024 sheets) limits the track to a single clip.
Clips are integral to a project, with each project supporting its own unique set of clips. The total number of clips and their maximum length are determined on a per track, per project basis. The Clip Page provides a dedicated interface for constructing complex, large-scale sequences. Each clip serves as a foundational building block for intricate musical structures, which can be sequenced, automated, or performed live.
Interface Overview
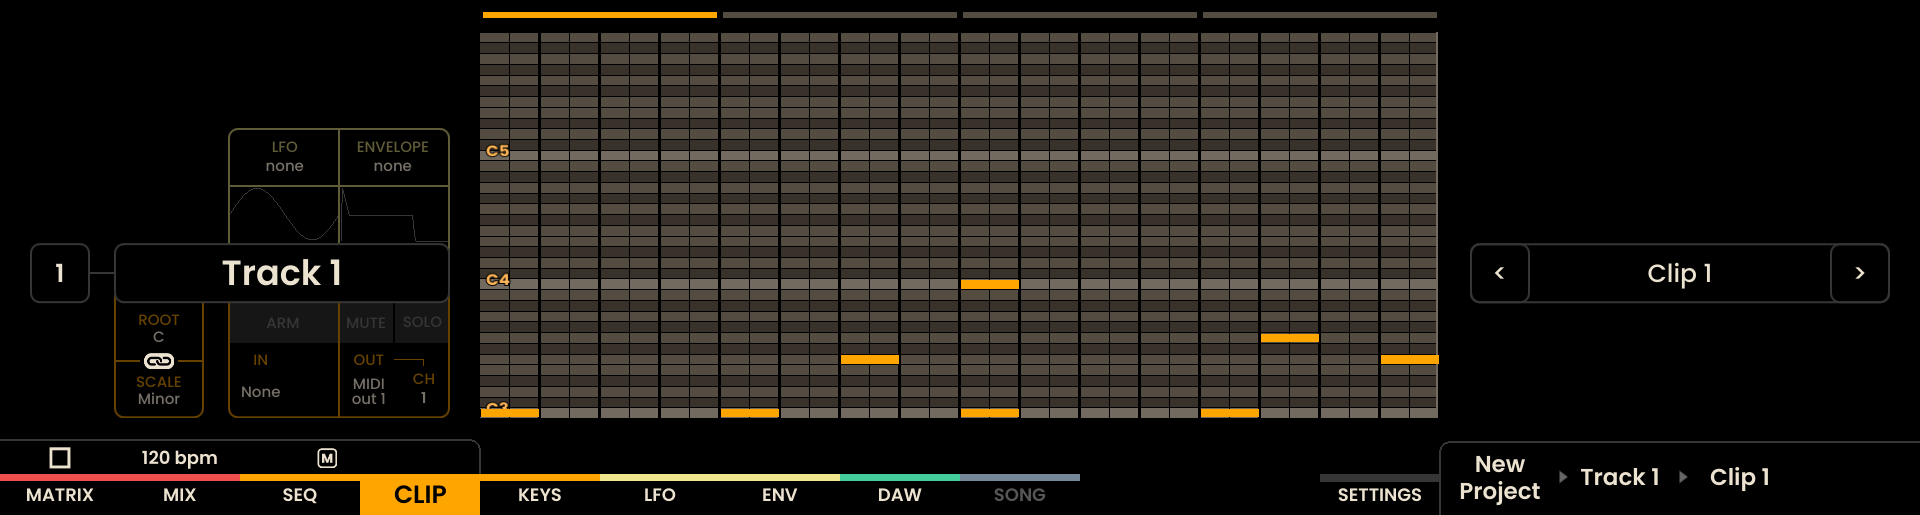
The Clip Page interface displays essential information, including the selected track name, the active clip name for that track, and a preview of the clip contents, shown through a piano roll in the center of the display.
On the Grid Pads, clips for each track are arranged horizontally. Each row corresponds to a track, while the columns within that row represent the clips stored for that track.
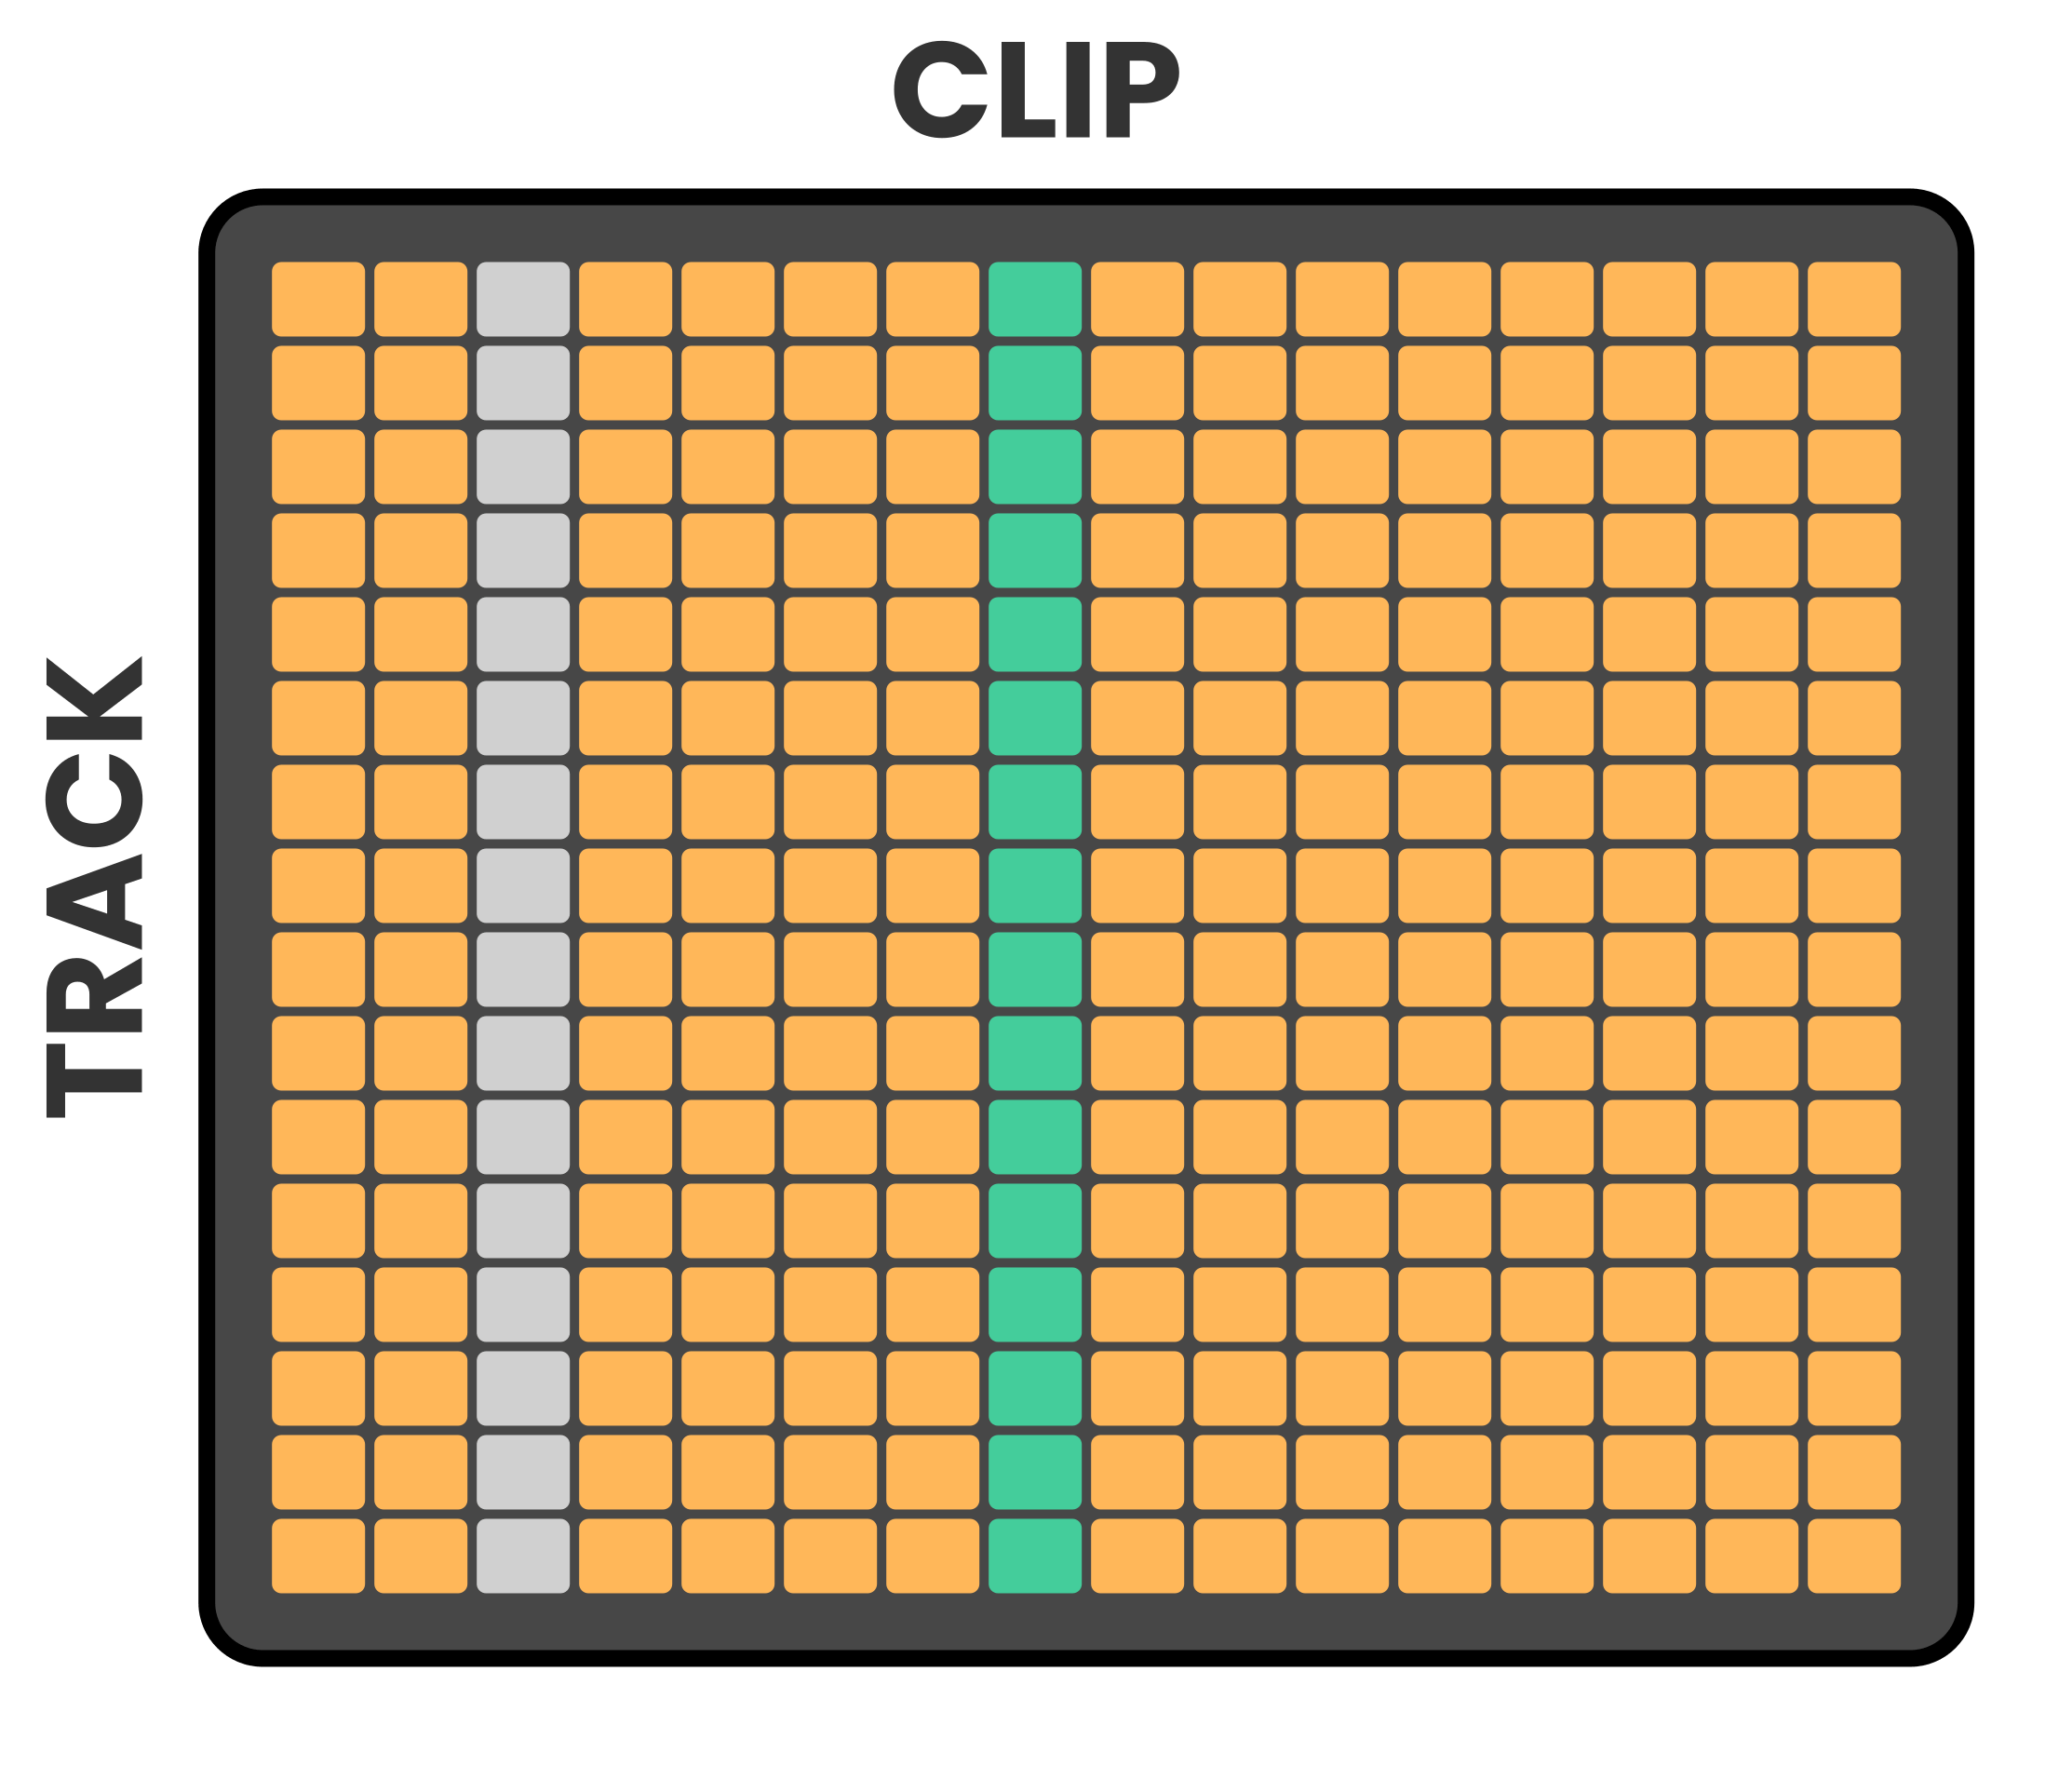
Selecting a track is done by pressing the respective Track Button , and selecting a clip is achieved by pressing the appropriate Clip Button . The selected clip’s details will then be displayed in the piano roll preview.
Empty clips will appear unlit, while clips with content are illuminated in orange. The active clip for each track will be highlighted in white.

By default, the Grid Pads display the first 16 clips for each track. To navigate through additional clip pages, use the SHIFT Button in conjunction with the Arrow Buttons . Pressing SHIFT + Arrow will move to the next set of clips (clips 16-32). The current clip page and clip number are displayed in the bottom-right corner of the screen.
Clip Infoview
The Clip Infoview is an on-screen overview of the currently selected clip. It is visible across the Sequencer, Clip, LFO, and Envelope pages, so the clip’s state stays in view while you edit modulation, perform, or navigate sheets.
The Infoview is arranged as three rows in the lower-right of the screen:
Top row — the routings and modulators tied to this clip:
MATRIX CLIP — the active matrix sequencer clip.
LFO — the active LFO slot on the track.
ENVELOPE — the active Envelope slot on the track.
SONG — the current song block, shown while Song Mode is playing.
Center row — the clip name, with a play / stop / record / cue icon on its left and the current SHEET position on the right (for example,
2 / 4).Bottom row — the four follow-up parameters for this clip: FOLLOW UP, JUMP TO, LOOPS, and PROBABILITY.
The icon to the left of the clip name reflects what the clip is doing — playing, stopped, recording, or queued. When a clip is queued to start or stop, the icon alternates between its current and pending shapes until the change fires. When the change fires is set by the SYNC parameter of the outgoing clip — the clip currently playing (see Clip Sync). A clip left in Instant is never queued, so no pending icon appears for it.
When you move between the LFO and Envelope pages, the Infoview highlights the cell of the modulation you are editing. While a clip-level Parameter Lock is active, the bottom row is highlighted so the follow-up parameters stand out from the rest of the panel.

Creating Clips
Clips are created in the Sequencer Page (refer to the Sequencer chapter for more details).
Clips are automatically saved as soon as they are created and updated in real-time as changes are made. Use the Arrow Buttons to navigate between clips within the selected track.
Deleting Clips
To delete a clip, press and hold the UNDO button and press and hold the Grid Pad of the Clip you want to delete. This will delete the content of that Clip.
Real-Time Control and Sequencing
Clips can be triggered in real-time via the Clip Page, sequenced using follow-up actions, or arranged in a linear format using the Song Page (refer to the Song chapter for more information). By default, clips loop, though this behavior can be altered through Follow Up actions to break or modify the loop.
To trigger a Clip in real-time, simply press the Grid Pad corresponding to the desired Clip.

Trigger a clip and the change is queued: it fires at the point set by the SYNC setting of the outgoing clip — the clip currently playing on that track. With the default setting — SYNC Internal, SHEET 1 — it fires at the End Of Sheet (EOS) of the playing clip, so timing remains consistent regardless of when the clip is activated. The other SYNC modes fire elsewhere; see Clip Sync. While the sequencer is stopped, a clip change is applied immediately, whatever the SYNC setting.
To trigger all clips in a specific column across tracks, hold the SHIFT Button and press the Page Button above the target column.
Note
Each track times its own change with the SYNC setting of the clip it is leaving, so the clips of a column do not necessarily start together. See Clip Sync.
Clip Settings
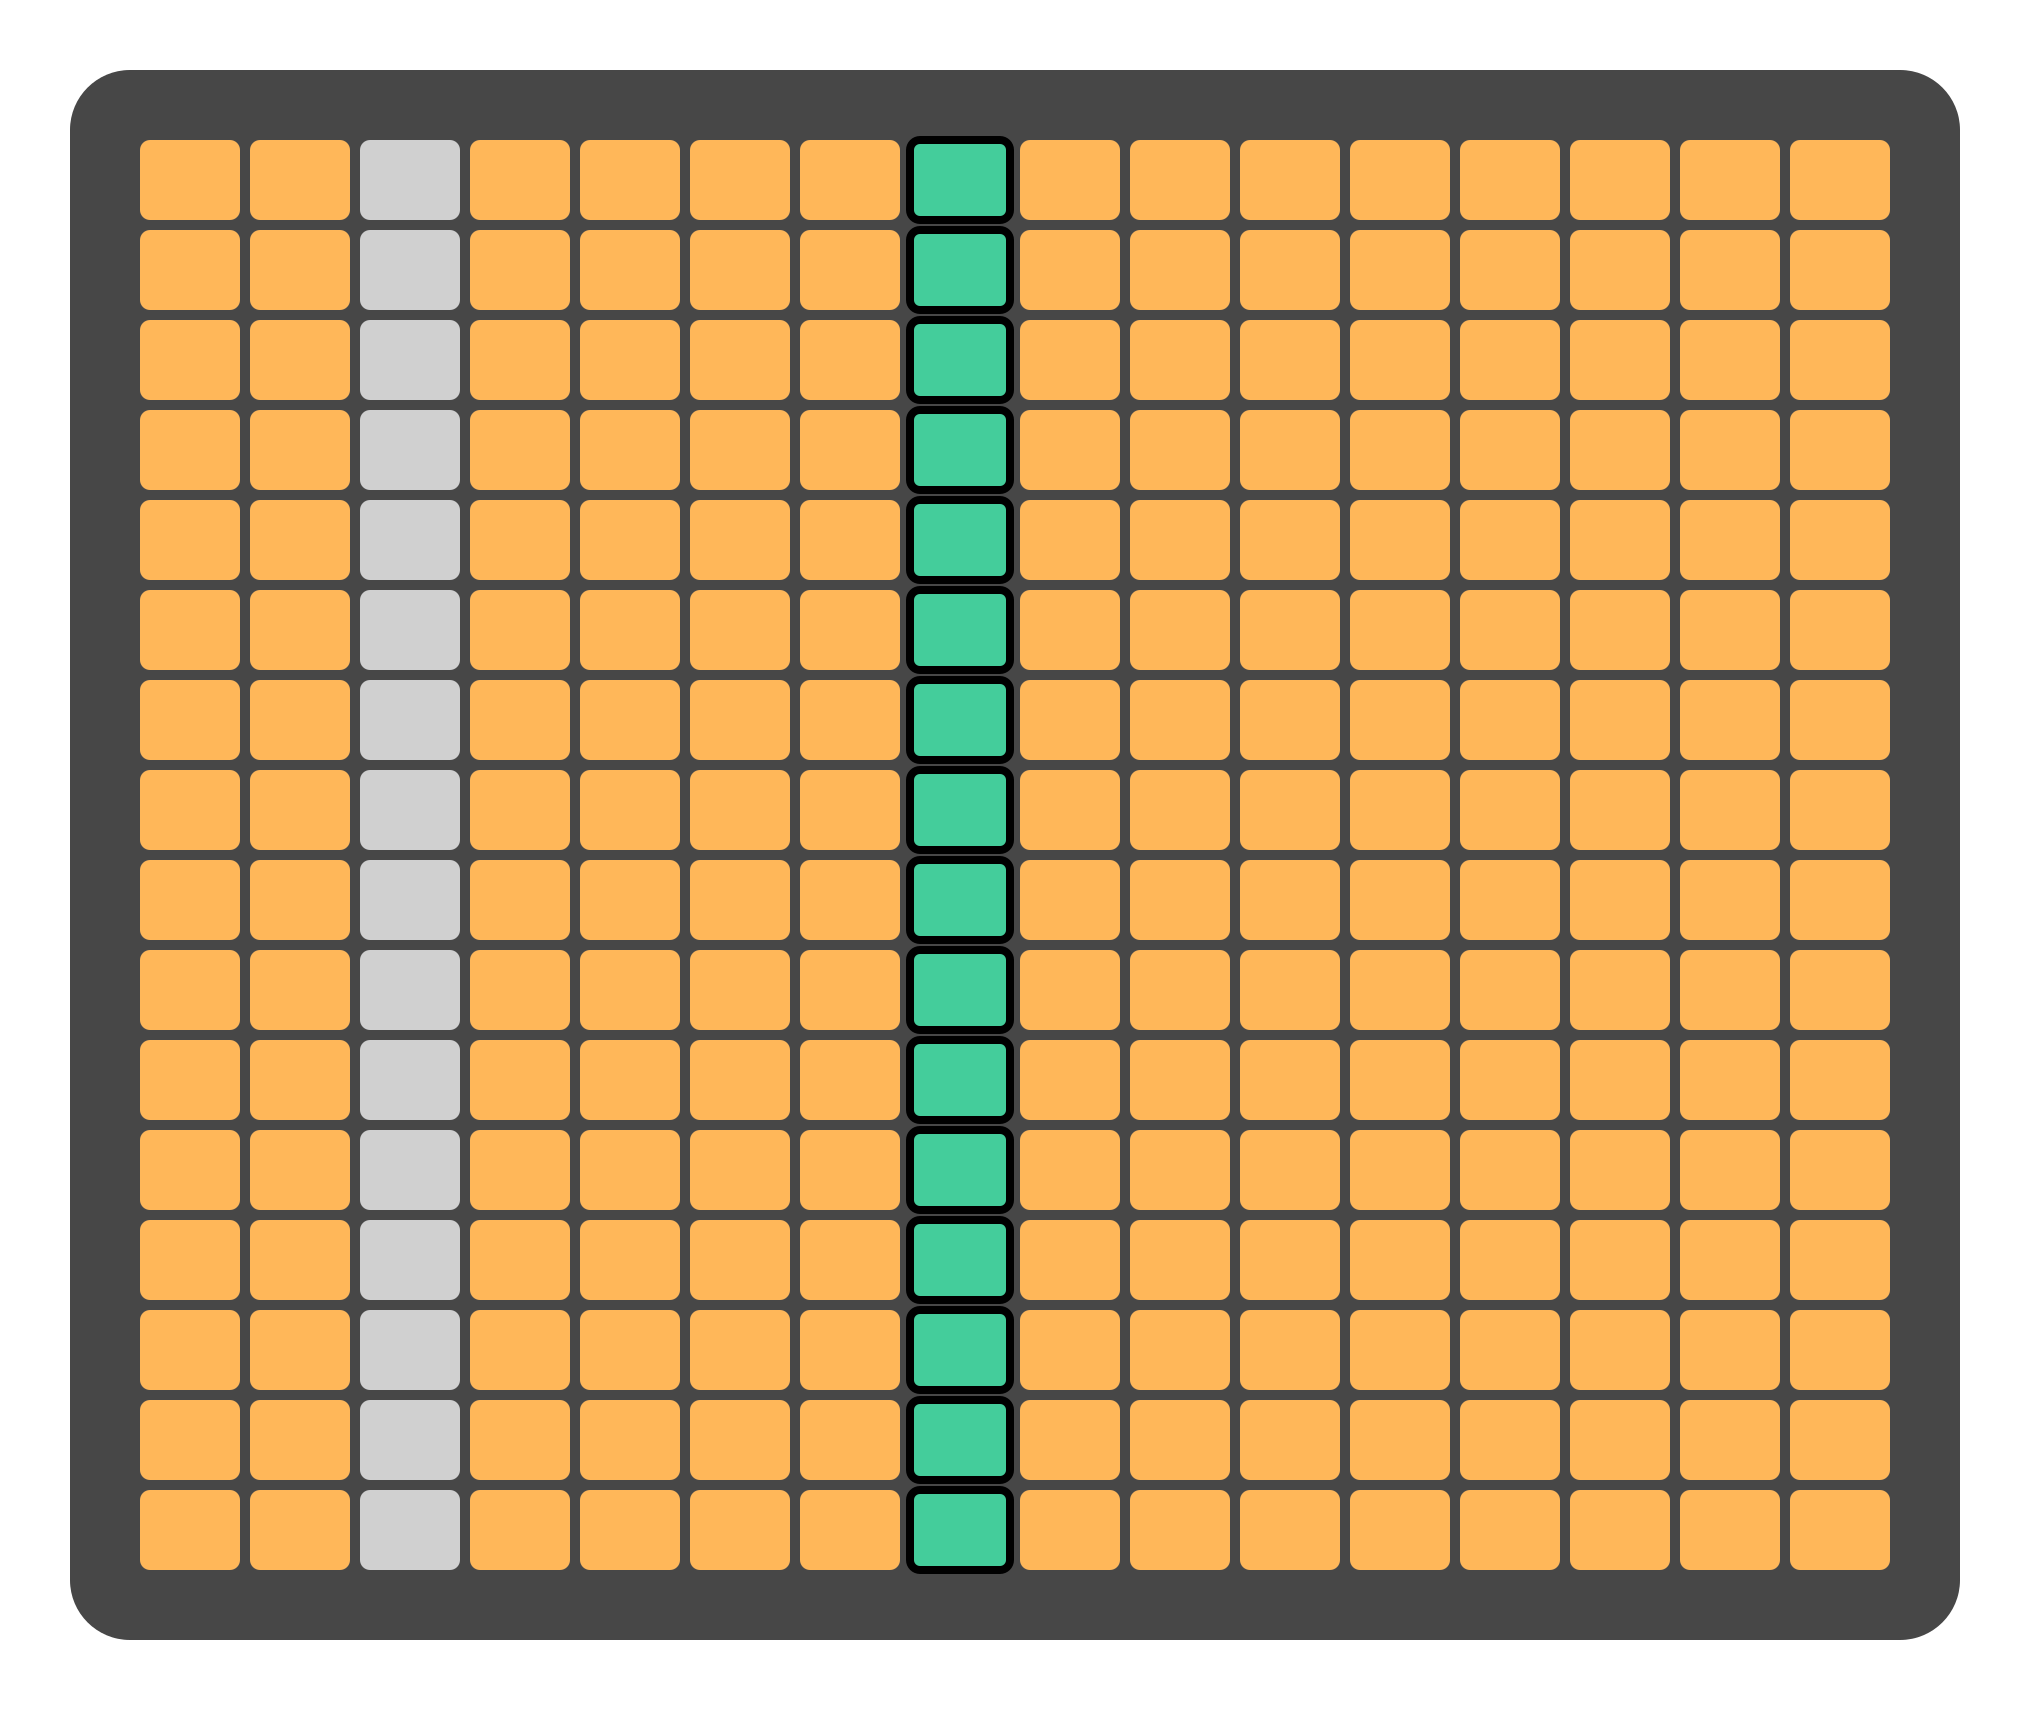
Each Clip contains its own dedicated settings.
To open the Clip Settings panel, press the first encoder located above the Clip Settings icon while the desired clip is selected or held (Parameter Lock).
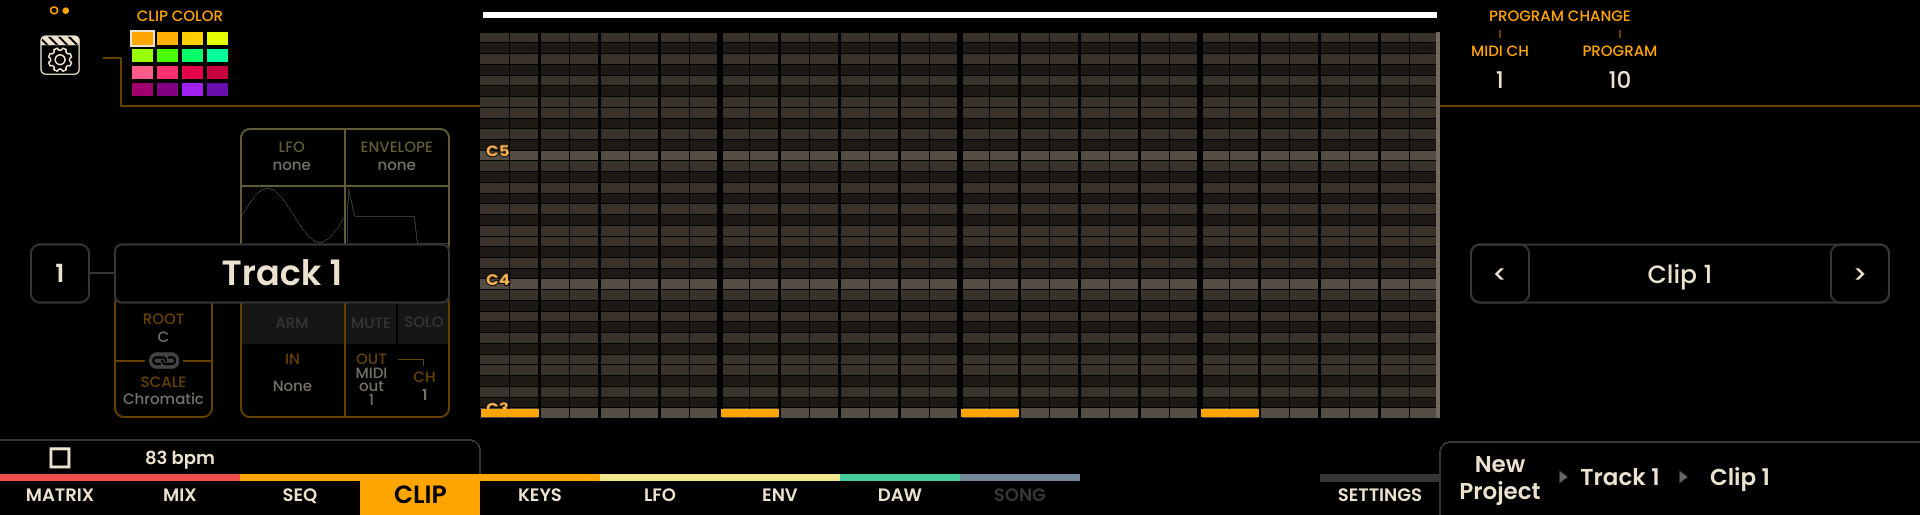
The following settings are available:
Clip Color
Assigns a color to the currently addressed clip. The selected color is reflected on the corresponding Grid Pad.
The clip affected depends on the current interaction state:
In normal playback mode, the color applies to the currently playing clip.
In edit mode, the color applies to the selected clip.
When holding a clip in Parameter Lock, the color applies to the held clip.
This allows visual grouping and quick identification of clips during performance or arrangement.
The clip color is also reflected in the Clip Infoview, the piano roll, the pads in Sequencer Page and Keys Page for easy identification. NEW
Program Change
When enabled, the clip sends a MIDI Program Change message when triggered.
This allows external instruments or devices to switch presets automatically upon clip activation.
Parameters:
MIDI Channel: Defines the MIDI channel used to send the Program Change message.
Program: Selects the Program Change value (OFF - 1–128).
BANK: Selects the Bank value (MSB) (OFF - 0–127).
SUB-BANK: Selects the Sub-Bank value (LSB) (0–127).
The Program Change message is transmitted when:
The clip is selected and the sequencer is stopped.
The clip is triggered during playback (program change is sent only once at the start of the first repetition of the clip).
Sequencing Clips via Follow-Up Actions
Each Clip can be assigned a Follow Up action, which decides what the clip does when it hands the track over to the next clip. When the hand-over happens is set by the clip’s SYNC mode (see Clip Sync); with the default Internal mode it happens at the end of the clip’s own playback. The available follow-up actions include:
None: The clip loops without any follow-up action.
Prev: The previous clip in sequence is triggered.
Next: The next clip in sequence is triggered.
Any: A random clip is triggered.
Other: A random clip is triggered, except the current one.
First: The first clip in sequence is triggered.
Last: The last clip in sequence is triggered.
Jump: The clip jumps to a specified clip.
Additional parameters are available for follow-up actions:
Loops: Defines how many times the clip will loop before the follow-up action is executed. In Track mode the loop count is not used — the follow-up is timed by the followed track (see Clip Sync).
Probability: Specifies the likelihood of the follow-up action occurring at the end of the clip. In Track mode the likelihood is evaluated each time the followed track completes a pass.
For the Jump Follow Up action, the parameter Jump To specifies the target clip for the jump.
To set a Follow Up action for a Clip, hold the desired clip, enabling Parameter Lock. The follow-up parameters will then appear in the upper-right corner of the display.

Use the encoder above the parameter label to adjust settings. For a quick follow-up action setup, press and hold the current Clip ( Parameter Lock ) , then press the Clip to which it should jump. The follow-up parameters will be automatically set to Jump-to the selected clip.
To create a chain of clips with automatic progression, hold the Track Button of the desired track, then press the clip at the beginning of the chain, followed by the clip at the end of the chain. Reliq will automatically set all clips in between to Follow Up - Next, with the final clip set to the first one of the chain, creating a seamless playback chain.
Clip Sync NEW
Every Clip carries a SYNC setting that decides when a change away from it takes effect. It times both a manual trigger — pressing the Grid Pad of another clip — and the clip’s Follow Up action.
By default a clip changes on its own grid, so a four-sheet clip and a seven-sheet clip each turn over at their own length and neither waits for the other. That independence is what SYNC adjusts. Leave a clip on Internal and it keeps it, which is what lets polymetric parts and odd-length phrases run free of the bar. Set it to Global and it gives that freedom up: the change is pinned to the song’s bar, so clips of any length switch together and a scene change lands as one. Track is the ground between them — a clip takes its timing from another track, so several parts can wait for one chosen track to come round before any of them move. Instant abandons the grid altogether and drops the change the moment the pad is pressed, which is how stutters, re-triggers and fills get played by hand.
RESET then decides what the incoming clip does when that moment arrives: restart from the beginning of its pattern, or pick up where the outgoing clip left off. It is the difference between cutting to a new phrase and letting one run on through the change.
SYNC and Follow Up work together to help and shape musical structures. Chain the clips and set them all to Global: every part hands over on the same bar, like a written arrangement. Leave the same chains on Internal, with clips of different lengths: each part turns over at its own rate, and the music never repeats the same way. Track sits in between — one part decides when the others move.
The SYNC that times a manual trigger belongs to the outgoing clip — the clip currently playing on that track — not to the incoming clip that the pad press launches. Press a pad: Reliq reads the SYNC of the outgoing clip and times the change with it. Setting a clip to Instant does not make pressing that clip instant — it makes leaving it instant. A Follow Up is timed the same way, by the SYNC of the clip that is playing, which is the clip the follow-up belongs to.
Setting Sync
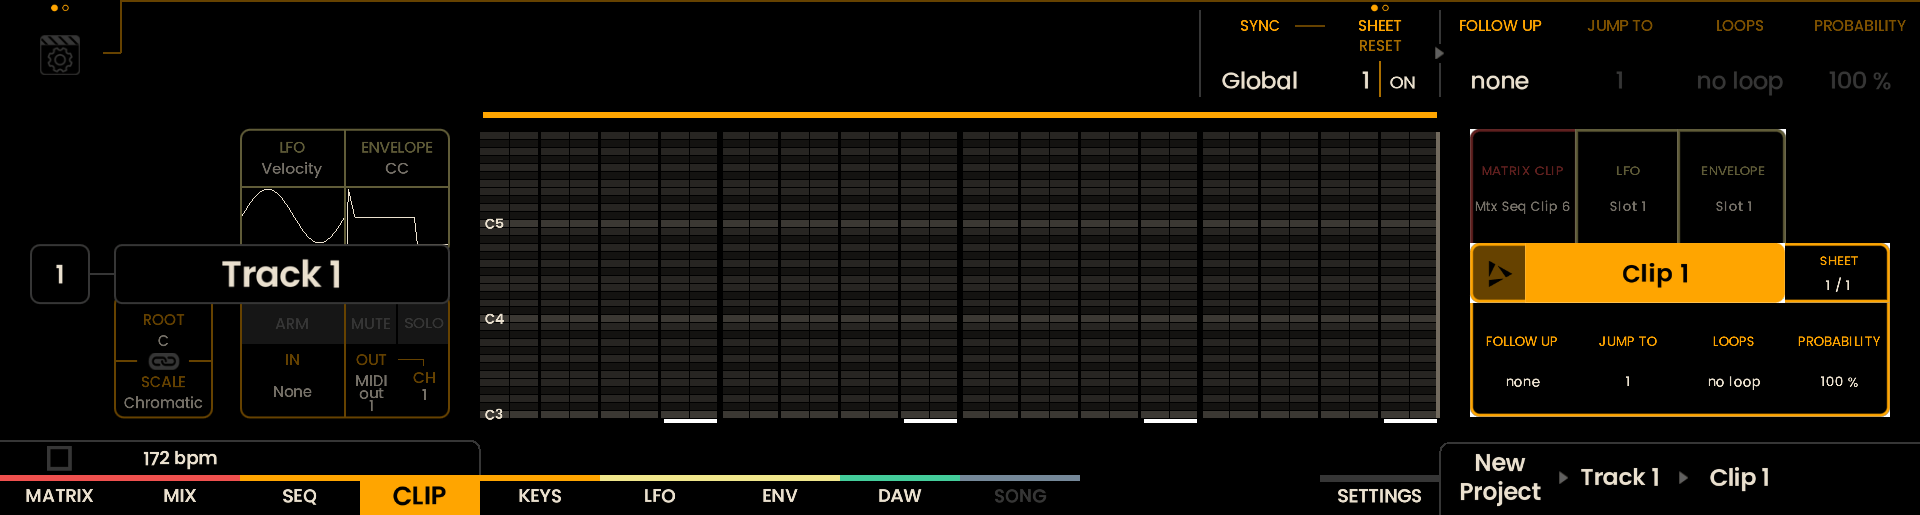
Hold a clip’s Grid Pad to open the Parameter Lock view. The sync parameters sit on the two encoders immediately to the left of FOLLOW UP:
The left encoder of the pair sets the SYNC mode: Internal, Global, Track or Instant.
The right encoder sets the sync point. In Global and Track mode, press it to swap the tile to RESET, and press again to swap back. In Instant mode there is no sync point, so the tile stays on RESET. In Internal mode the tile shows the sync point only.
Both act on the clip you are holding, not on the clip that is playing.
Sync Modes
Mode | Sync point | When a manual change fires | When the Follow Up fires |
|---|---|---|---|
Internal (default) | SHEET, 1–128 — a number of sheets | After that many Sheet boundaries of the outgoing clip. With the default value of 1, at its next End Of Sheet (EOS). | When the clip finishes playing, after its LOOPS. |
Global | SHEET, 1–128 — a number of song bars | After that many song bars. | On the first song bar after the clip finishes playing. |
Track | TRACK NUM, 1–16, or MATRIX — the track to follow | At the followed track’s next End Of Sheet (EOS). | Each time the followed track completes a pass of its own clip. |
Instant | None | The moment you press the pad. The change is never queued. | When the clip finishes playing, after its LOOPS, as in Internal. |
The sync point counts for a manual change only: in Internal and Global, a Follow Up does not wait for it, and fires as the table shows.
RESET
RESET decides what happens to the playback position when a clip change fires. It is ON by default.
Like SYNC, RESET belongs to the outgoing clip: the value that applies is the one set on the outgoing clip, not the one set on the incoming clip.
ON — the incoming clip’s playback position is reset when the change fires.
OFF — playback keeps its current position, and the incoming clip picks up from there.
A reset re-anchors the playback position — notes that are already sounding are not cut.
Notes
Press another Grid Pad while a change is already queued and the change re-points to that clip, but the wait does not restart: the change still fires at the point set on the first press.
A clip in Track mode takes only its timing from the followed track. Its own FOLLOW UP, JUMP TO, PROBABILITY and target clip remain its own.
The Matrix Sequencer Clip
The Matrix Sequencer clip has the same SYNC, sync point and RESET parameters, set the same way: hold its clip pad to open the Parameter Lock view. The one difference is in Track mode, where its TRACK NUM covers sequencer tracks 1–16 only. The Matrix Sequencer is not a sequencer track and cannot follow itself, so it has no MATRIX option.
LFO and Envelope Slots
LFO and Envelope slots carry the same four SYNC modes, timed in the same way by the outgoing slot — the slot currently playing — not by the incoming slot that the pad press launches. They differ in two points: they have no RESET parameter, and their sync point is shown in Global and Track only — a slot is a single Sheet, so in Internal its point is fixed at 1. See the LFO chapter and the Envelope chapter.
Clip Import
The Clip Import browser allows you to import clips from external sources directly into the current clip slot. Two types of sources are supported: MIDI files and Reliq project clips. This provides a fast way to reuse musical material across projects or bring in externally created MIDI sequences.

The browser presents both sources in a unified three-level hierarchy, navigated using the encoders:
Level 1 — Parent-folder (Project or MIDI folder)
Level 2 — Sub-folder (Track)
Level 3 — File to load (Clip or MIDI file)
Opening the Clip Import Browser
To access the Clip Import browser, open the Clip Settings panel pressing the first encoder located above the Clip Settings icon.

Select the target Clip slot where you want to import. Use the encoders to navigate through the three levels of the hierarchy. Press the Level 3 encoder to load the desired clip/file for import. To exit or cancel the import process, press one of the Level 1 or Level 2 encoder.
Importing from MIDI Files
MIDI files stored in the MIDI_clips folder on the internal memory can be imported directly into a clip slot. The browser displays MIDI files organized by parent-folder (Level 1), sub-folder (Level 2), and MIDI file (Level 3). The folder structure need to follow the format MIDI_clips/Parent Folder/Sub-Folder/my_MIDI_file.mid, MIDI files stored in a different structure will not be recognized. For example, a MIDI file located at MIDI_clips/Big Session/Track 1/Clip A.mid would appear in the browser as following:

When a MIDI file is selected and confirmed, its note and CC data are converted into the native Reliq sequencer format and loaded into the target clip slot. The clip name is derived from the MIDI filename.
The following limitations apply to MIDI file import:
Only the first track of the MIDI file is imported. Multitrack MIDI files (format 1) will import the first content track only.
If the imported sequence exceeds the maximum available clip length, it will be truncated to fit.
Up to 8 CC lanes are imported per clip. If the MIDI file contains more than 8 unique CC numbers, only the first 8 encountered are imported.
Tempo and BPM meta-events are ignored.
Pitch bend, aftertouch, program change, and SysEx messages are not imported.
Importing from Reliq Projects
Sequencer clips saved within other Reliq projects can also be imported. The browser scans all projects stored in the internal memory and presents their sequencer track clips in the same three-level hierarchy: Project (Level 1), Track (Level 2), Clip (Level 3).

Project clip import loads the native clip data directly, preserving all step settings, note data, and clip parameters. Clips from any previously saved project version are supported — Reliq automatically handles version differences during import.
Note
Clips from the currently loaded project are also available in the browser, allowing you to copy clips between tracks within the same project via the import mechanism.
Import Behavior
Importing a clip overwrites the content of the target clip slot. If the target slot contains an existing clip, it will be replaced.
Imported reliq sequencer clips retain all their original settings (IO settings, track settings, etc…). MIDI file imports will not change the current track settings, which can be adjusted after import.
Clip Export
Reliq can export sequencer clips as Standard MIDI Files (.mid), allowing you to use your sequences in any DAW or external application. Both single clip and full project export are supported.
Exporting a Single Clip
To export the currently selected clip as a MIDI file, access the export function from the Clip Page. The exported file is saved to the internal memory following the structure:
MIDI_clips/<Project Name>/<Track Name>/<Clip Name>.mid

If a file with the same name already exists at the destination, Reliq will prompt for confirmation before overwriting.
Exporting All Clips
Reliq can also export all non-empty clips across all tracks in the current project at once. Each clip is saved as an individual MIDI file, organized in the same folder structure: MIDI_clips/<Project Name>/<Track Name>/<Clip Name>.mid.

If the export directory already exists, Reliq will prompt for overwrite confirmation before proceeding.
Export Details
Exported files use Standard MIDI File Format 0 (single track).
The project BPM is embedded in the MIDI file as a tempo meta-event.
Note data is exported with full timing resolution, including groove and micro-timing offsets.
CC automation lanes are exported alongside note data. Interpolated CC lanes produce smoothly interpolated values between anchor points in the exported file.
Drum mode clips are supported — each instrument is exported on its respective MIDI channel and note.
The current project must be saved before exporting.
Note
Exported MIDI files are stored in the same MIDI_clips folder used by the Clip Import browser. After exporting, your clips will appear in the import browser and can be re-imported into other projects.
Clip Functions
The following functions are available on the Clip Page:
: Trigger all clips in a specific column.
: Navigate to the next or previous clips on the selected track.
: Navigate to the next or previous clip page for the selected track.
: Undo/Redo the last action across both the Sequencer and Clip Pages.
Clip: Copy a specific clip to the clipboard.
Clip: Paste a clip from the clipboard to the selected clip position. Overwriting a pre-existing clip (orange) will replace its content.
Hold UNDO Hold Clip : Delete the selected Clip.
: Holding UNDO and pressing a track button will DELETE the contents of the current clip on this track
Select on the Clip Page NEW
Use Select Mode to act on several clips at once. The mechanics that are the same on every page are described in Select Mode. This section covers what is specific to the Clip Page.
Selecting Clips
Clips are selected from the Grid Pads only.
A selection spans clip pages. Move to another clip page with SHIFT and the Arrow Buttons and keep pressing pads — the clips selected on the previous page stay selected.
When the Matrix Sequencer is active, its row cannot be selected: the display shows Matrix clip can’t be selected.
While clips are selected, the Parameter Lock view stays open on the lead. Clearing the selection or turning Select Mode off closes it.
Bulk Editing Clips
In the Parameter Lock view, the parameters that apply to the whole selection are:
SYNC, and the sync point / RESET parameter on the encoder next to it
FOLLOW UP
JUMP TO
LOOPS
PROBABILITY
With the Clip Settings panel open, they are:
Clip Color
MIDI Channel, Program, BANK and SUB-BANK
No other encoder in these views edits the selection: turning the Clip Import browser encoders still navigates the browser, and pressing an encoder still does what it normally does on the Clip Page.
The first bulk edit moves the selected track to the lead’s track.
Copying and Pasting a Block of Clips
A copied selection is pasted as a block. Hold PASTE and press a Grid Pad: that pad is where the top-left corner of the block lands. That corner is the lowest selected track and the lowest selected clip slot — it is not necessarily one of the selected clips. Every copied clip is then placed at its own offset from the corner, so the block keeps its track and slot spacing.
If any clip of the block would fall outside the clip grid, nothing is pasted.
Empty clips in the block are skipped, and a clip is not pasted onto a track that does not have enough Sheet capacity left for it.
A pasted clip keeps the sync settings of its source clip, but its follow-up parameters all return to their defaults: FOLLOW UP, JUMP TO, LOOPS and PROBABILITY.
Deleting, Importing and Exporting a Selection
Delete — the contents of every selected clip are deleted, and the selection is cleared.
Import — with a selection active, confirming a file in the Clip Import browser loads it into every selected clip, whether it is a MIDI file or a clip from another Reliq project. The display reports how many clips were imported into.
Export — with a selection active, the export function writes each selected clip to its own MIDI file, using the same folder structure as a single-clip export. Empty clips are skipped, and Reliq asks for overwrite confirmation only if one of the selected clips would overwrite an existing file.
While Select Mode is on the Grid Pads build the selection, so the pad shortcuts of the Clip Page are unavailable: the single-clip COPY and PASTE pad combos, the Track Button hold that chains clips to Follow Up - Next, and the hold-clip-then-press-clip Jump To. Turn Select Mode off to use them again.
Technical Specifications
Specification | Details |
|---|---|
Maximum Steps per Track | 32,768 steps |
Sheets per Track | Up to 1,024 sheets |
Steps per Sheet | 32 steps |
Maximum Clips per Track per Project | Dependent on sheet allocation (e.g., 64 clips with 512 steps each) |